My Workflow
Some time ago I came across a question that a fellow photographer posted on Twitter. It simply asked about the pros and cons of scanning your own 35mm or 120 film at home. The replies were a mild mix, as is so often the case on twitter, ranging from “it’s easy and saves you money, and you have control” to “unbearable and takes too much time to learn”.

Some time ago I came across a question that a fellow photographer posted on Twitter. It simply asked about the pros and cons of scanning your own 35mm or 120 film at home. The replies were a mild mix, as is so often the case on twitter, ranging from “it’s easy and saves you money, and you have control” to “unbearable and takes too much time to learn”.
Rather than joining the conversation, the tweet did animate me to type up a couple of words summarizing my workflow. At the end of the day it’s my workflow that works best for me and there is no guarantee that it will work for you.
So here we go…
I. Develop
B&W - I develop most of my B&W film at home. For developer I use Kodak chemicals, either D76 or XTOL, and for stop bath and fixer I use Ilford. To get the correct developing time I use the “Massive Dev” app. It allows for all kinds of film/developer and push/pull combinations and always give you the exact time for each step.
C41/E6 - I drop off all of my C41/E6 film at a professional lab. I’ve tried different color kits; however, I find it too cumbersome to control the temperature and get consistent results. Don’t get me wrong, you can get consistent and good results at home; however, I need to spend more time experimenting before I am confident to develop color at home more frequently. For lab development I always ask for uncut negatives, makes the batch scanning process a lot easier. Here in NY I use Bleeker Digital Solutions. I’ve tried another lab on the UWS; however, didn’t have the greatest experience with them.
II. Scan
I’ve tried and had several scanners in the past - Epson V600 for 120 and Pakon for 35mm for example. I recently sold both of them and settled for the PrimeFilm XA. I only have one camera and one lens, and I only work with 35mm film, so the PrimeFilm XA is the perfect fit for my 35mm work.
The Pakon is a great scanner; however, the PrimeFilm XA beats it on many levels.
For software I’ve settled on Silverfast 8.8 Ai Studio. There’s a ton of other software out there; however, after a lot of experimenting I’ve concluded that Silverfast works best for me as it allows me to batch scan (read I load the film, walk away and come back when done) B&W, C41 and E6 film, and get consistent results with little tweaks post scanning. The “studio” version also allows me to calibrate the scanner and set up different profiles for slide film.
IV. Print
I am “religious” about printing my work. I don’t get the big blown up prints all the time, but I do get proof prints of pretty much all my photos. For proof prints I use Richard Photlab - great quality, quick and affordable.
If I need a larger print (for client work), I use Tribeca Printworks here in New York. Again, great quality, customer service and affordability is what makes them great.
From time to time I also print some of my work the old traditional way in a darkroom. I have a full darkroom setup (Beseler 23c iii) and my bathroom easily converts into a full blown darkroom at night.
So what are the pros and cons then? Well, here they are from my viewpoint…
It does save you money; however, only in the long run as there is an initial investment that you need to make for the scanner and software. Process and scan costs about $20 to $30 per roll. After about 30 rolls of film that you develop and/or scan at home you break even, then you start saving money.
It does take time to learn, a lot of time if you want consistent results. There’s a lot of experimenting that I had to do in order to find the right developer, lab, scanner, software and post scan tweaks. However, once you’ve nailed these steps it’s a breeze from that point forward
Is it unbearable? Yes, whenever you mess up one of the steps. Wrong or expired photo chemicals and your memories on film are gone forever. One wrong scan setting and you have to restart.
Can you get consistent results and have control over your photos? Absolutely; however, it takes a lot of time and practice to get there.
The only way way you will find out is giving it a try. Just because it worked or didn’t work for someone, doesn’t mean it will hold true for you.
Cinestill + Bleach
Bleach bypass, as the name suggests, is simply skipping the bleach step when developing color film using C-41 chemicals. Skipping the bleach step results in higher silver retention in the film, essentially muting the colors and increasing the grain and contrast.

A couple of weeks ago I came across a photo on Cinestill's instagram stream that was developed using a process called "bleach bypass". Curious about the look and process I searched the web and found a couple more examples, as well as a short description of the process.
Bleach bypass, as the name suggests, is simply skipping the bleach step when developing color film using C-41 chemicals. Skipping the bleach step results in higher silver retention in the film, essentially muting the colors and increasing the grain and contrast. Similar to imposing a black and white image on the color image. Results vary depending on the film stock.
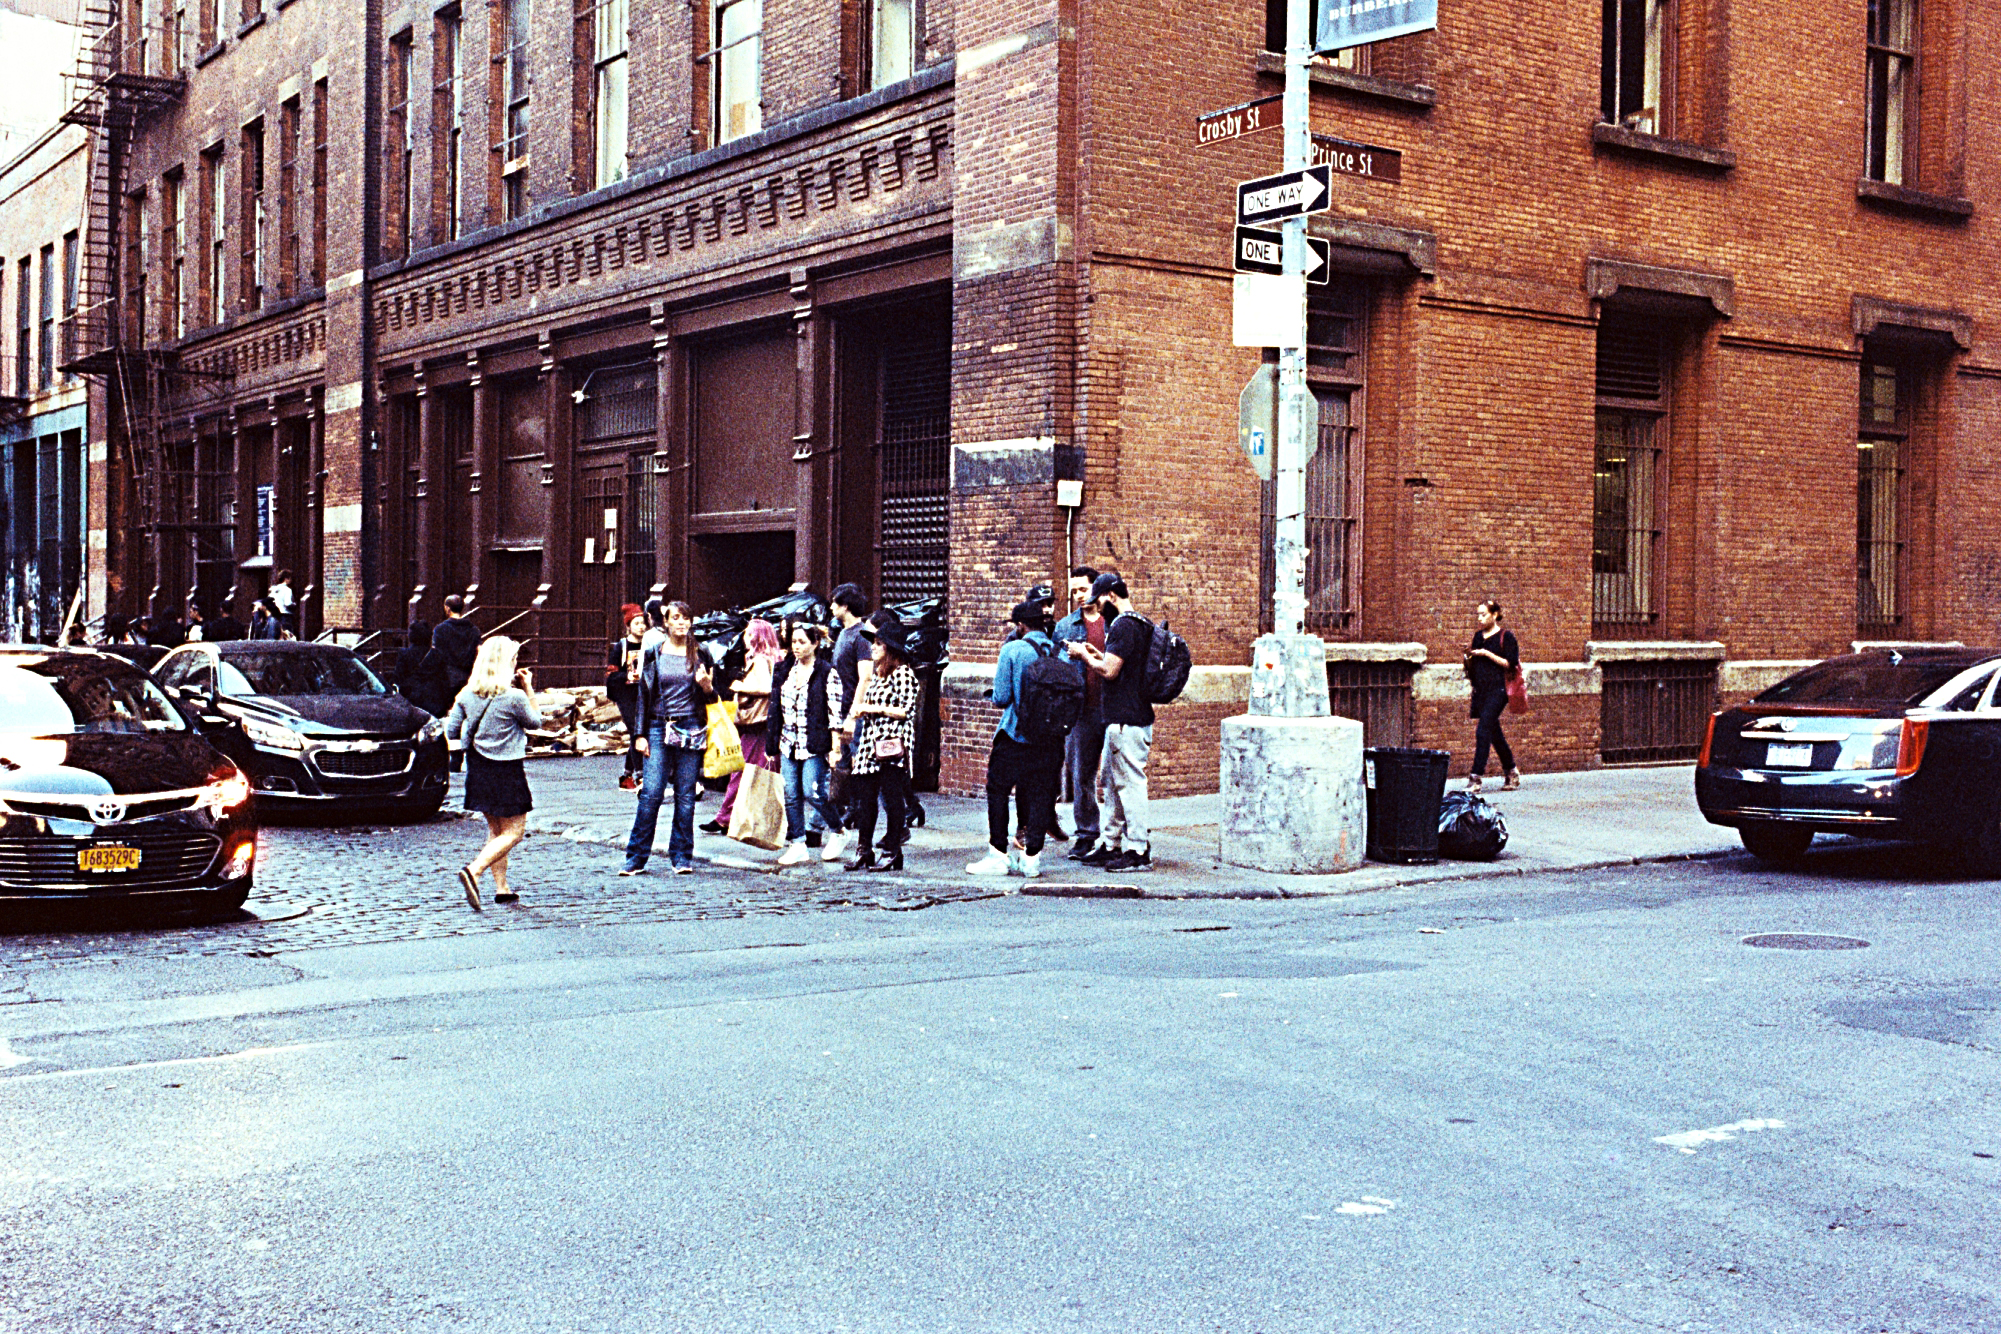
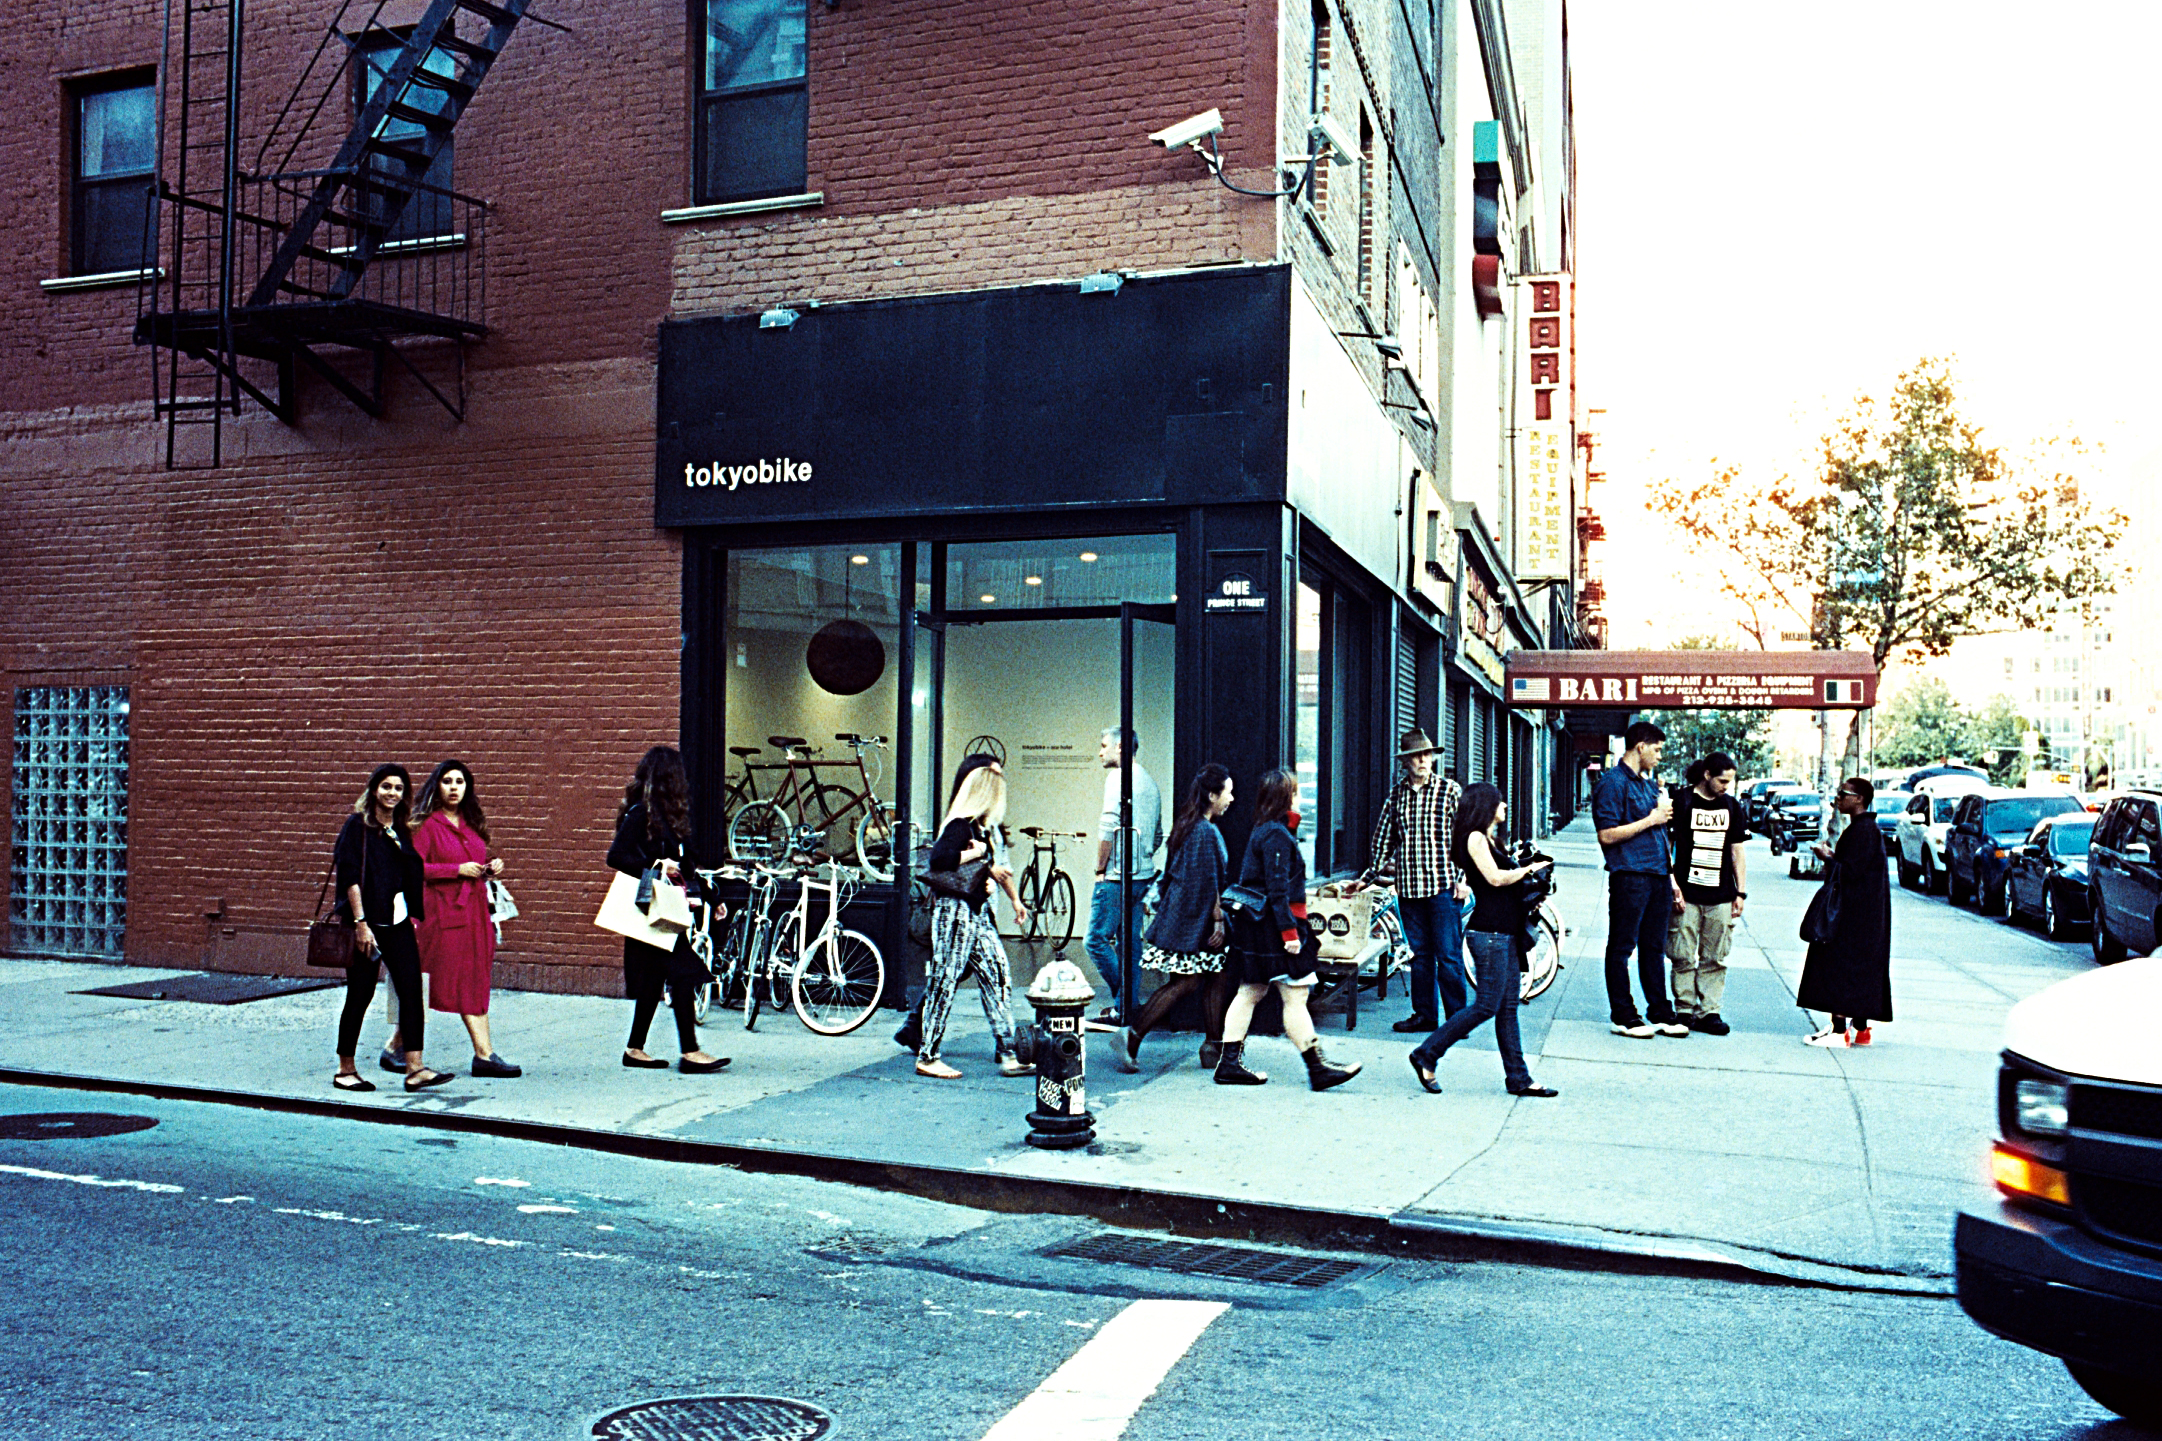
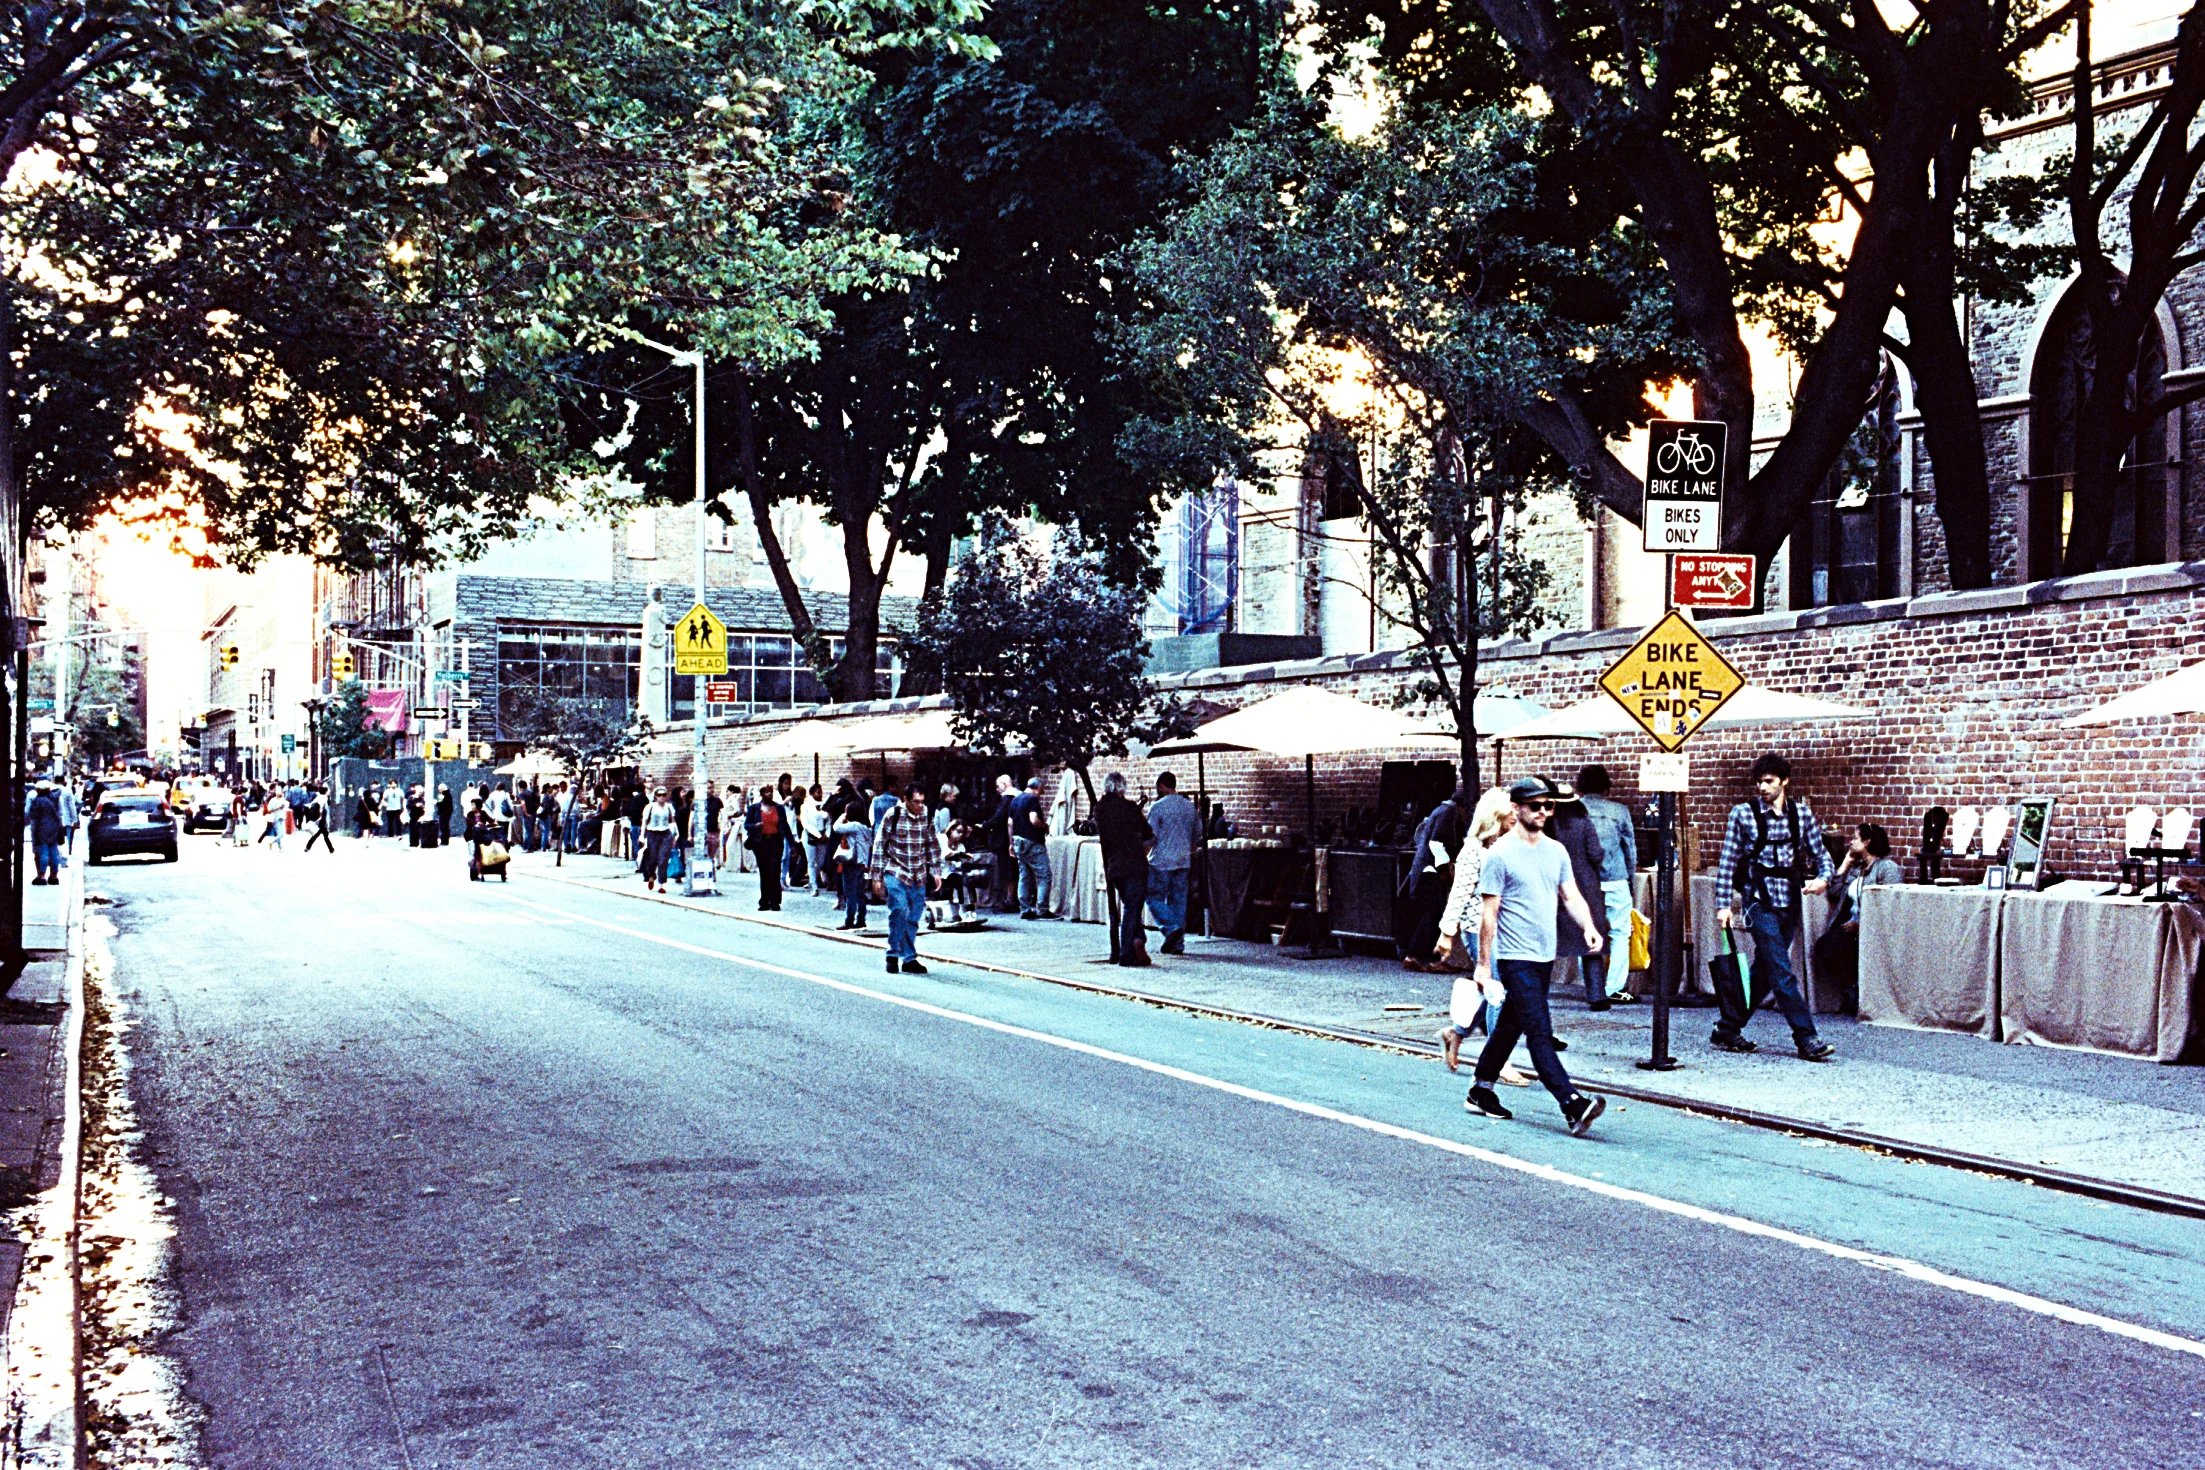
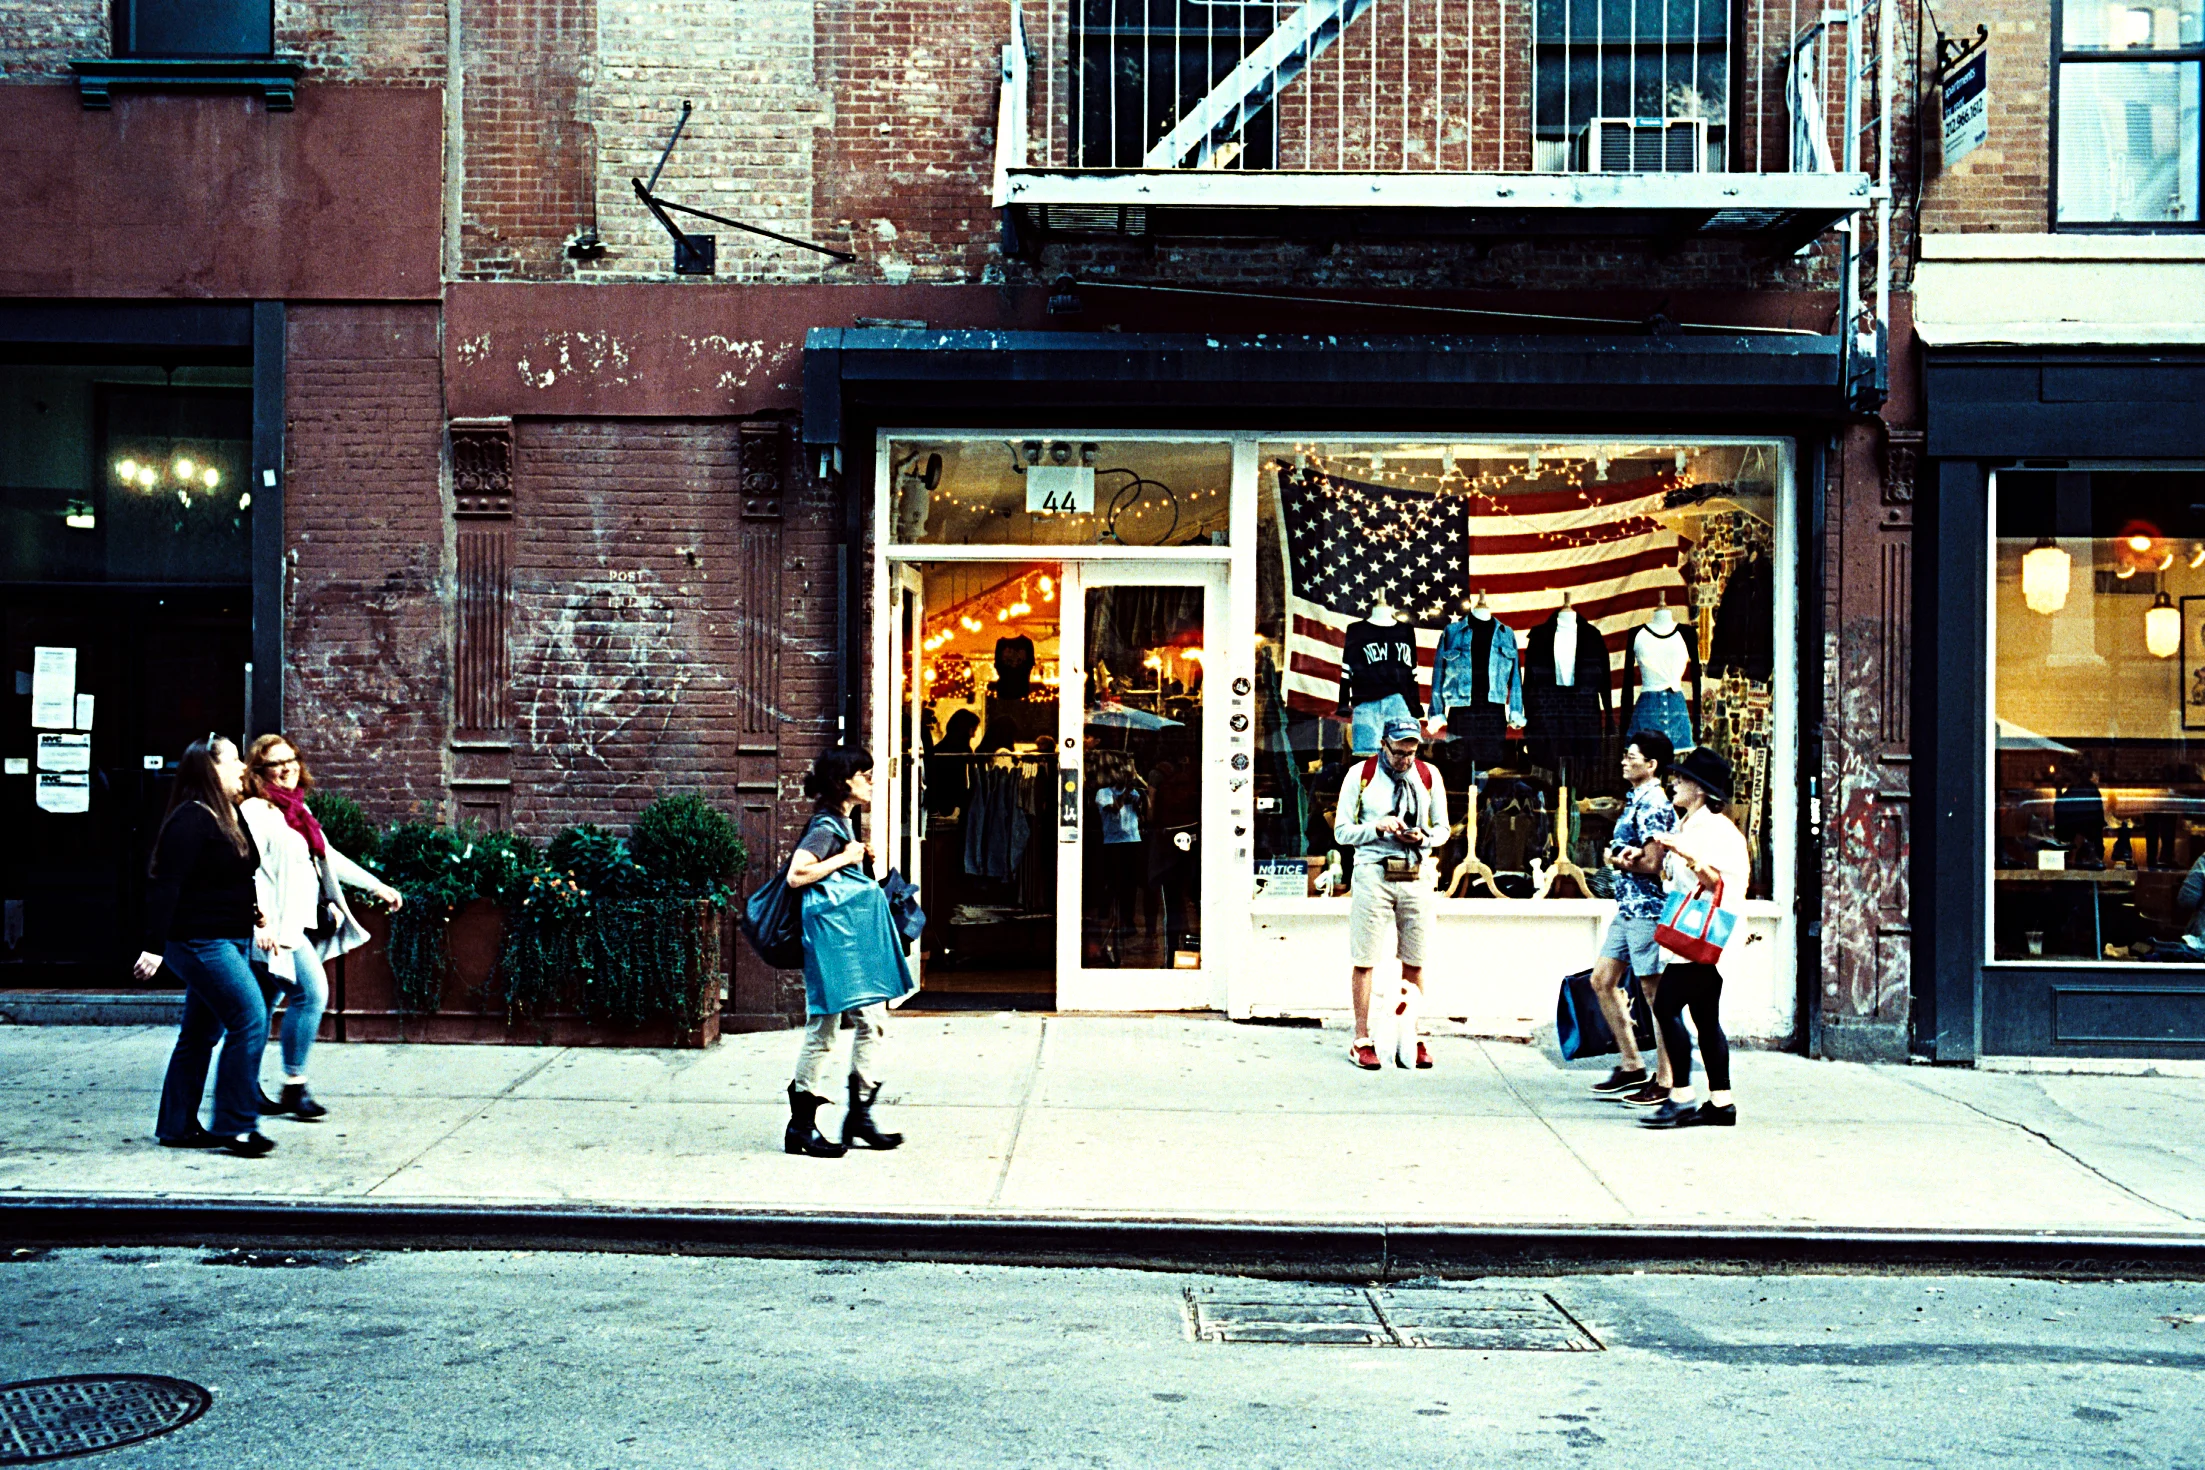
I thought I should give it a try using a roll (Cinestill 800T) that I shot in New York City on a September afternoon recently. Here is a summary of my workflow, as well as a few examples...
Home processing steps:
- 3 minutes 30 seconds in developer at 103 F (Tetenal C-41 press kit developer)
- 5 minute wash at 103 F
- 5 minutes in fixer at 103F (Ilford Black & White fixer)
- 5 minute wash
- 1 minute in stabilizer at room temperature (Tetanal C-41 press kit stabilizer)
Scanner:
- Pakon F135 (non-plus)
- Adjustments: Red +12, Green -5, Blue -5 (on average)
Scanning the photos at home was quite painful. The Pakon doesn't have a profile for Cinestill (or Kodak 500T) and the images have a heavy blue cast. Cinestill itself is already a "demanding" film depending on the light conditions and New York City (tall buildings, bright light and shade) doesn't make it any easier. The adjustments that I made, on average, were Red +12, Green -5 and Blue -5, as well as some Brightness and Contrast adjustments. I also tried scanning the photos on the Epson V600, however, there is no negafix profile. I tried a couple random ones, however, no luck. I also tried scanning it as a linear positive and then use ColorPerfect, however, no luck so far. Need to practice my scanning skills a bit more.